 Clearwater Siding
 New-Construction Windows Built for Downtown Clearwater's Climate
When a home in Downtown Clearwater is framed new or gets a room addition, the windows going into those rough openings have a harder job than windows almost anywhere inland. This stretch of Pinellas County sits close enough to the Gulf and Old Tampa Bay to catch salt-laden air, sees some of the most intense year-round UV exposure in the country, and takes wind-driven rain and hurricane-force gusts as a normal part of the weather cycle, not a rare event. New-construction windows are the ones installed directly into bare framing before siding, stucco, or trim goes on — which means there's no old window opening to work around, but it also means the flashing, sealing, and fastening have to be done right the first time, because most of that work gets buried behind finished walls.
This page is specifically about new-construction window installation for Downtown Clearwater projects — new homes, additions, and gut-to-the-studs renovations where the opening is being built, not just re-covered. If you're replacing existing windows in an older home without touching the framing, that's a different scope of work with different products and techniques.
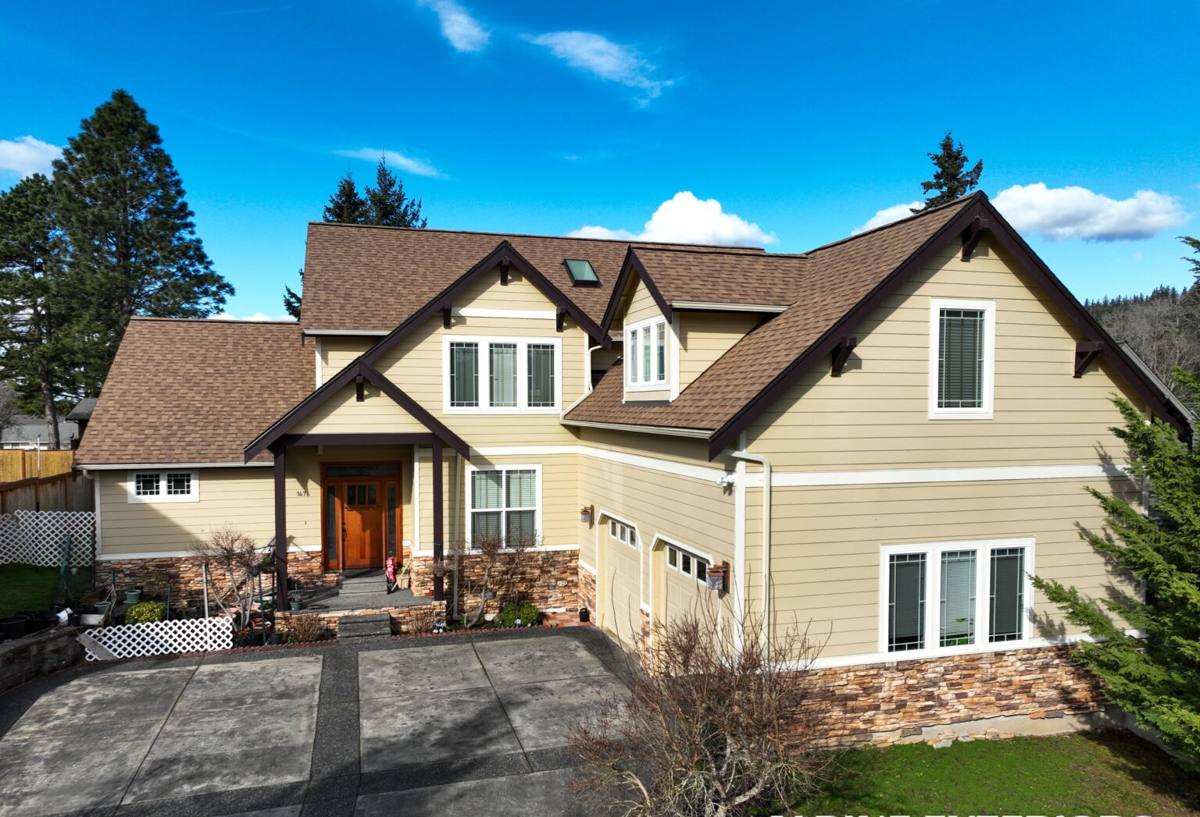
New Construction vs. Replacement: Why the Distinction Matters
New-construction windows have a nailing fin (sometimes called a flange) around the perimeter of the frame. That fin gets fastened directly to the sheathing and integrated into the home's weather-resistive barrier and flashing system before exterior finishes go on. Replacement windows, by contrast, are built to fit inside an existing frame without disturbing the surrounding wall — no fin, different fastening method, different flashing detail.
For a Downtown Clearwater build, using true new-construction windows during framing is almost always the better long-term choice when the opening is available to you. It lets us build a continuous drainage plane and flashing system around every opening, which is the single biggest factor in whether a window leaks during the area's frequent wind-driven rain events. Trying to retrofit that level of flashing integration into an already-finished wall later is far more difficult and more expensive.
Where This Applies
- New home construction from the ground up
- Room additions and bump-outs with new framed openings
- Full renovations where exterior walls are opened to the studs
- Enclosed lanais or porches being converted to conditioned living space
Florida Building Code and Pinellas County Wind Requirements
Windows installed in Pinellas County have to meet Florida Building Code requirements for the applicable wind zone, and Downtown Clearwater's proximity to open water typically puts it in a higher design wind speed category than inland parts of the county. In practice, that means the windows themselves need a current Notice of Acceptance (NOA) or Florida Product Approval number matching the specific wind pressure and, in most coastal-influenced zones, impact resistance requirements for the address.
A few things that matter at the permitting stage:
- The window's Design Pressure (DP) rating has to meet or exceed what the engineered plans call for at that specific elevation and opening size — larger openings generally need a higher-rated product.
- Impact-rated glass or an approved opening protection system is typically required in wind-borne debris regions, which covers most of coastal Pinellas County.
- The local building department will want the product approval documentation on file before final inspection, not after.
- Every opening's flashing and fastening schedule has to match the manufacturer's tested installation instructions — deviating from that can void the product approval for that opening.
We pull the required product approvals and match window specs to the wind zone and exposure category for the specific Downtown Clearwater address before we ever order material, so there are no surprises at inspection.
What a Correct New-Construction Window Install Actually Involves
The window unit itself is only part of the job. Most leaks and premature failures trace back to the details around the window, not the window itself. A correct install, done in the right order, looks like this:
- Rough opening check. The framed opening is measured and squared before anything else — an out-of-square opening stresses the frame and can compromise both water sealing and operation.
- Weather-resistive barrier prep. The house wrap or barrier around the opening is cut and prepped so flashing can integrate with it in the correct shingle-lap order — bottom to top, so water always sheds outward and downward.
- Sill pan flashing. A sloped, sealed sill pan is installed at the bottom of the opening so any water that does get past the window drains back outside instead of sitting on the framing.
- Window set and fastening. The unit is set, shimmed level and plumb, and fastened through the nailing fin per the manufacturer's tested pattern — spacing and fastener type both matter for the wind rating to actually apply.
- Flashing tape and jamb/head flashing. Side and head flashing integrate over the fin and barrier in the correct order to complete the drainage plane.
- Sealant at the interior and exterior. A backer rod and sealant joint at the interior, and an appropriate exterior sealant bead, close off air and water paths without trapping moisture inside the wall assembly.
- Final check. Operation, locking hardware, and visual inspection of every seal before trim and siding go on and cover it all up.
Because most of this disappears behind finished walls, it's worth asking any contractor exactly which of these steps they follow — a rushed or skipped sill pan or flashing lap is invisible until the first hard rain finds it.
Impact Glass vs. Impact Shutters: Comparing Approaches
For Downtown Clearwater's wind-borne debris zone, homeowners generally choose between impact-rated windows (glass and frame engineered and tested together to resist debris impact) or standard windows paired with separate approved shutters or panels. Both can satisfy code, but they perform differently day to day.
| Factor | Impact-Rated Windows | Standard Windows + Shutters |
|---|---|---|
| Storm prep effort | None — always protected | Manual deployment before every storm |
| Upfront cost | Higher | Lower on the window itself |
| Everyday UV/noise reduction | Better, laminated glass filters UV and sound year-round | No everyday benefit |
| Aesthetics | Clean, unobstructed view at all times | Shutters visible or need storage when not deployed |
| Long-term maintenance | Minimal — glass and frame only | Shutter hardware and tracks need upkeep |
For new construction specifically, we typically recommend impact-rated glass over shutter systems. Building it into the window from the start avoids adding a second system of tracks, panels, or storage logistics to a brand-new home, and the laminated glass used in impact windows also cuts down on the UV load and street noise this part of Clearwater deals with year-round — a side benefit that has nothing to do with storms.
Our Process, Start to Finish
1. Plan Review and Product Selection
We start from the architectural plans or engineered drawings, confirm wind pressure requirements for each opening, and select window products with matching, current Florida product approvals.
2. Ordering and Lead Time Planning
Impact-rated new-construction windows are built to order in most cases. We place orders early enough that the framing schedule doesn't stall waiting on windows, and we confirm sizes against actual framed openings, not just the plan set, since field dimensions occasionally shift during framing.
3. Installation
Our crew follows the manufacturer's tested installation sequence for every opening — sill pan, fastening pattern, flashing lap order, and sealant — because that sequence is what the product approval and the warranty are actually based on.
4. Inspection Coordination
We coordinate with the framing and window rough-in inspections the Pinellas County building department requires, and we keep product approval documentation on hand so nothing holds up your inspection schedule.
5. Final Walkthrough
Every window gets operated, checked for smooth locking action, and visually inspected for finish and sealant quality before we call the job done.
Material and Frame Choices: What Affects Cost and Performance
Frame material, glass package, and size all move the price of a new-construction window job. None of these are one-size-fits-all decisions — they depend on the specific elevation, exposure, and budget for the project.
| Factor | What It Affects |
|---|---|
| Frame material (vinyl, aluminum, composite) | Upfront cost, long-term maintenance, and how the frame handles salt-air exposure over time |
| Glass package (impact laminated vs. standard) | Storm protection, UV/heat rejection, sound dampening, and code compliance in wind-borne debris zones |
| Opening size and configuration | Required Design Pressure rating and sometimes the fastening schedule |
| Number of operable vs. fixed units | Hardware cost and long-term maintenance needs |
| Elevation and exposure category | How aggressive the required wind and water performance specs are for that specific wall |
We'll walk through these trade-offs plainly during an estimate — including where spending more up front on frame material or glass package actually saves money over the life of the home versus where it's optional.
What to Ask Before You Sign
Whether you're getting quotes from us or comparing bids, these questions separate a contractor who understands coastal Pinellas County installation from one who doesn't:
- Can you provide the Florida Product Approval or NOA number for the specific windows quoted?
- What Design Pressure rating do these windows carry, and does it match my wind zone and opening size?
- Will you install a sloped sill pan flashing at every opening, not just some?
- What is your fastening and flashing sequence, and does it match the manufacturer's tested instructions?
- Who pulls the permit, and who coordinates the rough-in and final inspections?
- What does the warranty cover — the glass, the frame, and the installation labor — and for how long?
Why a Crew That Already Works Downtown Clearwater Matters
New-construction window work is inspection-heavy and code-specific to the wind zone and exposure category of the exact address. A crew that regularly works Downtown Clearwater already knows the local building department's inspection expectations, keeps current product approval paperwork on hand for the wind ratings this area actually requires, and has seen firsthand how salt air and intense UV affect different frame materials and sealants over time — not just in a spec sheet, but on homes down the street. That local familiarity shortens the back-and-forth during permitting and reduces the odds of a failed inspection over a flashing detail or missing documentation.
It also means faster response if a warranty question or adjustment comes up after move-in, since we're not traveling in from across the county for a five-minute fix.
After Installation: Keeping New Windows Performing
New-construction windows are largely maintenance-free, but a little attention keeps them performing at their rated level through Pinellas County's climate:
- Rinse frames and glass periodically to clear salt residue, especially on elevations facing open water.
- Inspect exterior sealant joints annually and have any cracked or separated sealant addressed before rainy season.
- Operate every window a few times a year, even fixed-adjacent operable units, to keep hardware and weatherstripping working properly.
- Keep any manufacturer warranty documentation and your product approval paperwork on file — you'll want both if you ever sell the home or file an insurance claim.
If you're framing a new home, planning an addition, or opening up walls for a renovation in Downtown Clearwater, we're happy to walk the plans with you and put together a straightforward, no-pressure estimate. Use the form below to get started.