 Clearwater Siding
 Why Clearwater Beach Roofs Wear Out Faster Than Roofs Inland
A roof on Clearwater Beach and the surrounding barrier island lives a harder life than the same roof five miles inland. It sits closer to salt spray, gets more direct sun reflecting off open water, and takes the first hit from any storm moving in off the Gulf. Homeowners here often find that shingles curl, fade, or lose granules years ahead of the manufacturer's stated lifespan, and metal fasteners or flashing corrode faster than they would on a house tucked away from the coast.
Three things drive most of the early wear we see on beach-front and near-beach homes in Pinellas County:
- Salt air corrosion — airborne salt settles on exposed metal (nails, flashing, vents, gutter fasteners) and accelerates rust and pitting compared to non-coastal exposure.
- Year-round UV load — Florida sun breaks down asphalt oils and shingle granules steadily, and reflected glare off the water adds to the exposure on beach-facing slopes.
- Wind and wind-driven rain — even routine summer storms push rain sideways under poorly sealed edges, and tropical systems test every fastener, flashing seam, and underlayment lap a roof has.
None of this means a roof on Clearwater Beach can't last a full service life — it means the installation has to be done with those conditions in mind from the first nail, not patched around later.
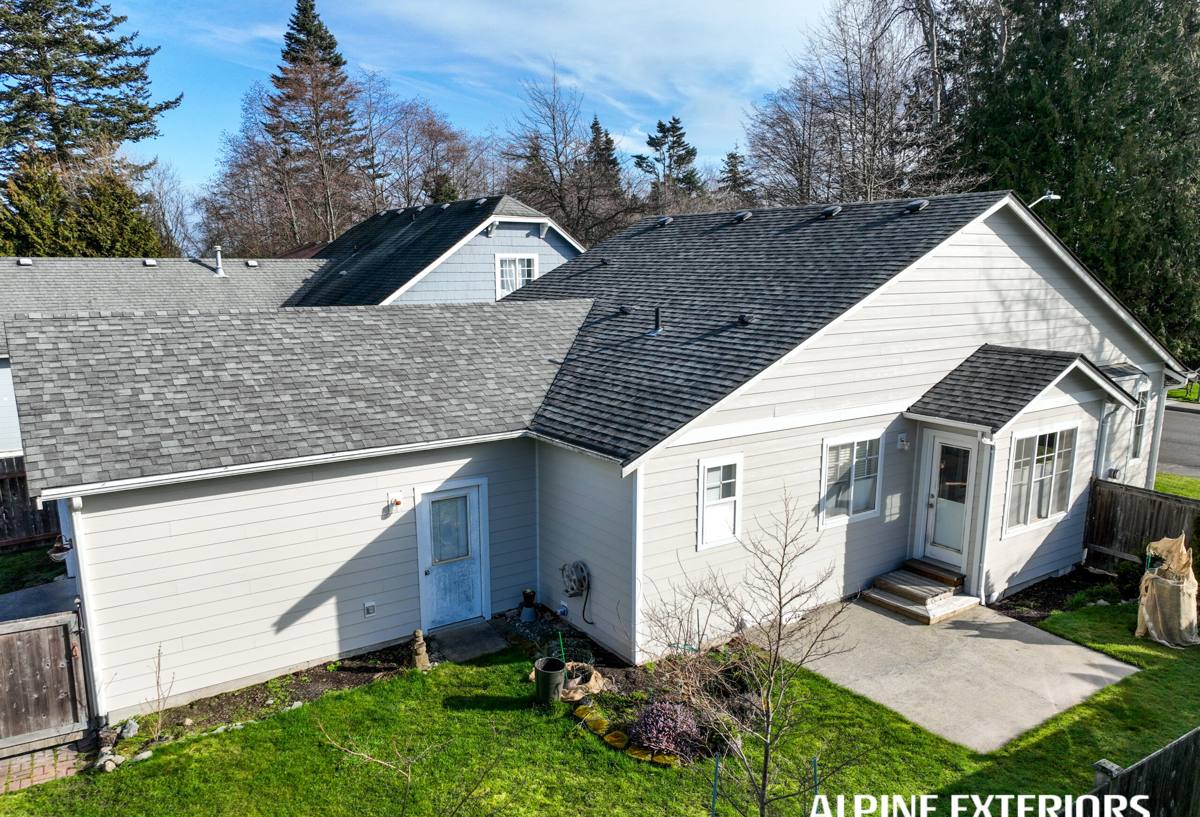
What a Correct Reroof Requires on a Barrier Island
Florida's building code sets wind-uplift and water-intrusion standards that apply statewide, but a home directly on the beach benefits from treating those code minimums as a floor, not a target. Pinellas County permitting and inspection exists precisely because a roof here has more forces acting on it than in most of the country.
Wind Resistance Starts Below the Shingles
A shingle's wind rating on the wrapper only means something if the deck attachment, underlayment, and fastening pattern underneath it are done correctly. We install to the fastening schedules and uplift ratings required for the local wind zone, not the minimum a box store shingle bag suggests for a generic climate.
Secondary Water Barrier
Because wind-driven rain can find its way past shingles during a strong storm, a self-adhering (peel-and-stick) underlayment at eaves, valleys, and penetrations gives the roof deck a real second line of defense — not just a felt layer that's only rated to shed water on a calm day.
Roof-to-Wall Connections
On older beach homes especially, we check how the roof structure ties to the walls below. A new roof covering doesn't fix a weak structural connection, and we'll flag it if we see it rather than roof over a problem.
Material Options for Salt Air and Full Sun
There's no single "best" roofing material for every home on Clearwater Beach — it depends on the roof's pitch, the home's style, and the owner's budget and maintenance tolerance. Here's how the common options actually compare under coastal conditions, honestly:
| Material | Wind/UV Performance | Salt-Air Durability | Maintenance | Typical Lifespan (Coastal) |
|---|---|---|---|---|
| Architectural asphalt shingle | Good, with proper fastening and rated products | Good if flashing/fasteners are corrosion-resistant | Low | 15–20 years |
| Standing seam metal | Excellent uplift resistance | Very good with coastal-grade coatings and fasteners | Low | 30–40+ years |
| Concrete or clay tile | Excellent when properly fastened/adhered | Very good — the tile itself doesn't corrode | Moderate (underlayment still ages) | 30–50 years (underlayment often needs mid-life replacement) |
Whichever material a homeowner chooses, we spec corrosion-resistant fasteners and flashing (not standard galvanized where a coastal-rated option exists) — that single detail is one of the biggest differences between a roof that ages gracefully near the water and one that shows rust streaks in three or four years.
Color and Reflectivity
Lighter shingle colors and reflective metal finishes reduce attic heat gain, which matters on a Florida roof that sees direct sun most of the year. It's worth discussing with your installer if energy costs or attic temperature are a concern.
Why We Tear Off Instead of Overlaying
An overlay — installing new shingles over an existing layer — costs less up front, and in some circumstances code allows one layer. We don't recommend it on Clearwater Beach homes, for a few practical reasons:
- An overlay hides the deck, so rot, old storm damage, or weak roof-to-wall connections stay hidden instead of getting fixed.
- It's harder to achieve a proper wind-rated fastening pattern and secondary water barrier over an existing layer.
- Extra weight from a second layer works against wind performance rather than for it.
A full tear-off costs more, but it's the only way to actually inspect the deck, correct anything underneath, and install the underlayment and fastening system the way it's meant to perform in this environment.
Our Roof Replacement Process
The steps don't change much from house to house, but the pace and sequencing on the beach do — see the section below on scheduling. Here's what the work itself involves:
- Inspection and estimate — we walk the roof, check the deck where accessible, note flashing points, and discuss material options and honest cost ranges.
- Permit pulled — Pinellas County or the local municipality requires a permit for a full reroof; we handle the application and required inspections.
- Tear-off — old roofing removed down to the deck, with same-day disposal so the house isn't left exposed overnight.
- Deck inspection and repair — any soft, rotted, or damaged decking is replaced before anything new goes down.
- Underlayment and flashing — self-adhering barrier at vulnerable areas, new drip edge, new flashing at every penetration, valley, and wall intersection.
- Roof covering installed — shingles, metal panels, or tile installed to the fastening schedule the material and wind zone require.
- Final inspection — county inspection signs off on the completed work.
- Cleanup and walkthrough — magnetic sweep for stray fasteners, debris hauled off, and a final walk of the roof and property with the homeowner.
What to Have Ready Before Replacement Day
- Vehicles moved off the driveway and away from the work area
- Attic access cleared if we need to check decking or ventilation from inside
- Delicate landscaping or pool equipment near the drip line noted so we can protect it
- Any HOA or condo association approval already on file, if required (see below)
- A clear answer on which material and color you want, so there's no delay once tear-off starts
Flashing, Ventilation, and the Details That Actually Prevent Leaks
Most roof leaks don't come from the field of shingles or panels — they come from flashing: the metal at chimneys, skylights, wall intersections, and roof valleys. On a beach home taking wind-driven rain from shifting directions during storms, flashing has to be installed correctly the first time, since it's rarely visible for a quick check afterward.
Attic ventilation matters just as much in this climate. A well-ventilated attic lets heat and moisture escape, which protects the roof deck from below and reduces the cooling load on the house. We check existing ventilation as part of every replacement and recommend corrections when intake or exhaust venting is inadequate — a common issue on older homes that were reroofed over the years without anyone revisiting the ventilation setup.
Permits, Inspections, and Insurance Considerations
A permitted, inspected roof replacement isn't just a legal requirement — it's documentation you'll want later. Two things worth knowing:
Wind Mitigation Inspection
After a qualifying roof replacement, a wind mitigation inspection can document upgrades like improved roof-to-wall attachment, a secondary water barrier, or a higher-rated roof covering. That documentation is what your insurance company uses to calculate windstorm premium discounts — it's worth requesting once the new roof passes final inspection.
Permit Records
Permitted work is tied to the property record, which matters at resale and for any future insurance or warranty claim. Unpermitted roof work is a red flag buyers' inspectors and insurance underwriters both look for.
Scheduling Around Barrier-Island Life
Working on Clearwater Beach comes with logistics that don't apply to an inland job: narrow streets, limited parking, seasonal tourist traffic, and in many cases an HOA or condo association with its own approval process and material or color restrictions. A crew that already works this area on a regular basis knows to check for association rules before ordering material, plans dumpster and delivery placement around the street's actual width, and times noisy work sensibly for a block with short-term rentals and vacationing neighbors next door. That local familiarity isn't a luxury — it's what keeps a project on schedule instead of stalling on a permit or approval nobody planned for.
Why Local Experience on Clearwater Beach Matters
Any licensed contractor can install a roof. What separates a good result on the beach from a mediocre one is judgment built from doing this specific work, in this specific environment, repeatedly: knowing which fastener and flashing metals actually hold up against salt air, which underlayment details are worth the extra step for wind-driven rain, and how to sequence a job around the realities of island access. Pinellas County's coastal exposure isn't a footnote here — it's the starting assumption behind every material choice and installation detail on this page.
If your roof on Clearwater Beach is aging, showing granule loss, or due for replacement after storm damage, we're happy to walk it with you and lay out honest options. Reach out for a free, no-pressure estimate — the form below gets you started.