 Clearwater Siding
 Why Safety Harbor Homes Need Siding Built for This Climate
Safety Harbor sits along Old Tampa Bay in Pinellas County, which means homes here take on a specific combination of stresses that inland Florida properties don't deal with in the same way. The bay is close enough that salt-laden air reaches exterior walls year-round, even on homes several blocks back from the water. Add in the sun exposure that defines a Tampa Bay summer, seasonal wind-driven rain, and the real possibility of hurricane-force gusts during storm season, and you have an environment that is genuinely hard on exterior building materials.
Siding on a Safety Harbor home isn't just a cosmetic layer. It's the barrier standing between your framing and sheathing and everything Pinellas County weather throws at it. When that barrier is the wrong product, or installed incorrectly, problems don't show up immediately — they show up two, five, or ten years later as soft spots, streaking, cracked caulk lines, or siding that's pulling away from the wall. By then the fix usually costs more than doing it right the first time would have.
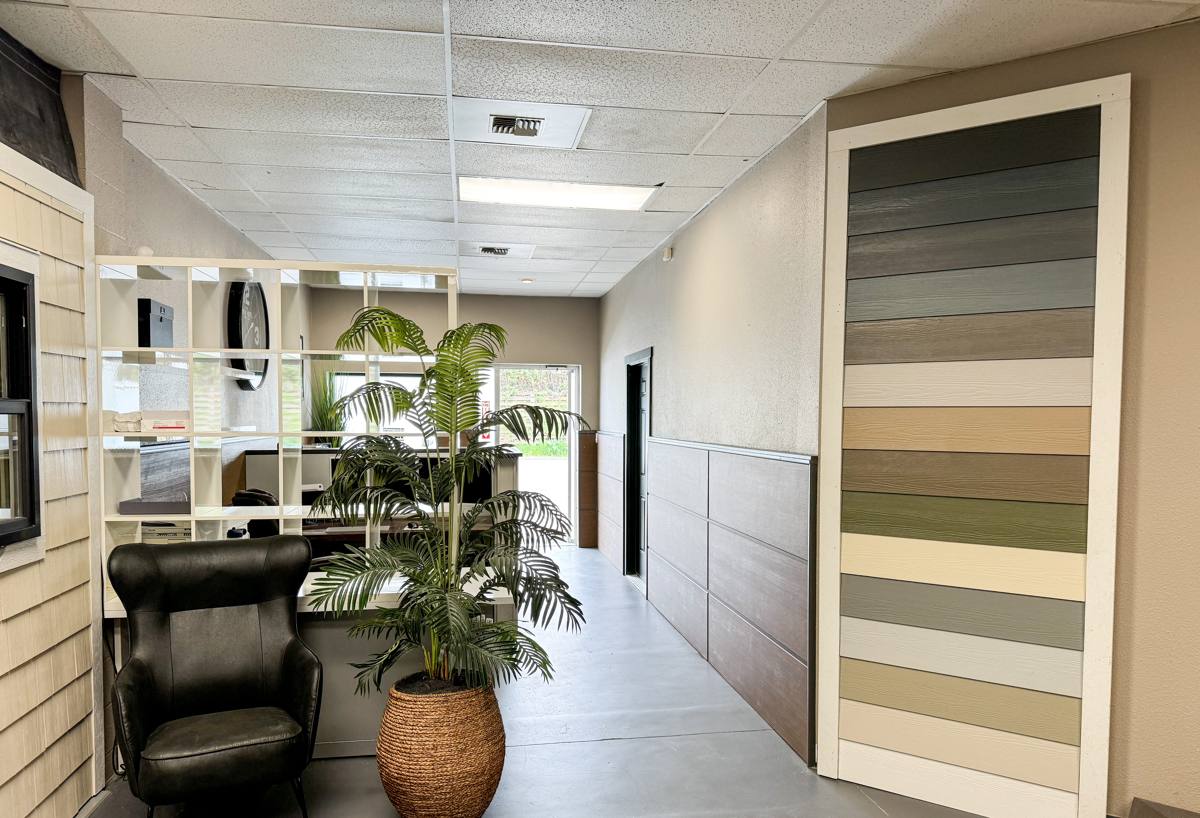
What Correct Siding Installation Actually Involves
Good siding installation is mostly about what happens before the siding itself ever gets fastened to the house. The material matters, but installation quality is what determines whether that material performs for its full rated lifespan or fails early.
The Substrate and Moisture Barrier
Every proper installation starts with an inspection of the wall sheathing underneath the existing siding. Any rot, water staining, or compromised OSB or plywood needs to be addressed before new siding goes up — covering a damaged substrate with new siding just hides the problem while it continues to spread. A code-compliant weather-resistive barrier (house wrap) goes over the sheathing, and every seam, penetration, and window or door opening needs to be flashed and sealed correctly. This is the layer that actually keeps wind-driven rain out of your walls, and it's invisible once the job is done — which is exactly why it's the step that gets skipped by installers trying to move fast.
Fastening and Clearances
Fiber cement siding has specific fastening requirements — nail or screw spacing, penetration depth, and placement all affect how the siding performs in high wind. Manufacturer-specified clearances from grade, roof lines, and other transitions also matter: siding installed too close to the ground or to a roof surface traps moisture and accelerates wear regardless of how good the product is.
Caulking and Joint Treatment
Joints, seams, and trim transitions need to be treated with the right sealants, applied correctly, not just caulked over as a finishing step. Poor joint work is one of the most common causes of moisture intrusion behind otherwise sound siding.
Why We Install Only James Hardie Fiber Cement
We made a deliberate decision as a company to install James Hardie fiber cement siding exclusively — not vinyl, not LP SmartSide, not primed wood products. That's not a marketing position; it's a standard we hold because of what Pinellas County homes are up against.
Vinyl siding can warp and discolor under sustained UV exposure and intense summer heat, and it has real limitations in high wind because of how it's fastened to the wall. Wood-based and engineered wood products depend heavily on maintained paint and caulk lines to keep moisture out, and in a humid coastal climate with wind-driven rain, that maintenance margin for error shrinks fast. James Hardie fiber cement is non-combustible, dimensionally stable across Florida's heat and humidity swings, and doesn't rely on an unbroken paint film the way wood-based sidings do. Its ColorPlus factory-applied finish is baked on under controlled conditions and holds color far longer than field-applied paint, which matters directly on a house getting hit with this much UV exposure.
James Hardie also engineers specific product lines (their HZ5 designation, for example) for climates like ours — hot, humid, storm-prone regions where moisture management and wind performance are non-negotiable. That's the version we install. We're not choosing Hardie because it's the only option on the market; we're choosing it because it's the option that holds up to what Safety Harbor's climate actually does to a house, and because it comes with a strong, transferable manufacturer warranty backing that performance.
Our Installation Process, Start to Finish
1. On-Site Assessment
We start with a walk-around of the home to look at the current siding condition, the state of the substrate where accessible, trim and flashing details, and any problem areas — corners, window returns, low-clearance sections near grade. This is also when we talk through product line and profile options.
2. Tear-Off and Substrate Inspection
Old siding comes off in sections so we can actually see the sheathing underneath rather than guessing at its condition. Any compromised wood gets flagged and addressed before anything new goes up.
3. Weather Barrier and Flashing
House wrap, window and door flashing, and penetration sealing go in next. This step is what determines whether the wall assembly actually resists wind-driven rain — it's also the step you'll never see again once siding covers it, which is why we don't rush it.
4. Siding Installation
James Hardie panels or lap siding go on to manufacturer fastening and clearance specifications, with attention to alignment, joint placement, and trim details that affect both appearance and long-term water management.
5. Final Detailing and Walkthrough
Caulking, touch-up, and trim work get finished, followed by a walkthrough so you can see the completed work and ask questions before we consider the job done.
Signs Your Safety Harbor Home's Siding Needs Attention
Some warning signs are easy to spot from the ground; others take a closer look. Homeowners in Safety Harbor should watch for:
- Soft or spongy spots when pressed, especially near the bottom of walls or below windows
- Visible warping, buckling, or panels pulling away from the wall
- Cracked, peeling, or missing caulk at joints and trim
- Persistent streaking or discoloration that doesn't wash off
- Rot or staining visible at inside corners or below window sills
- Higher-than-expected cooling bills, which can point to a compromised wall assembly
- Visible fastener heads or nail pops along siding panels
Any one of these on its own isn't necessarily an emergency, but they're worth having a professional look at before the next storm season rather than after.
Cost Factors to Understand Before You Budget
Siding installation cost varies by home size, current condition, and scope, but the factors below are what actually move the number for a Safety Harbor project:
| Factor | Why It Matters |
|---|---|
| Substrate condition | Rotted or water-damaged sheathing found during tear-off needs repair before new siding goes on, which adds material and labor |
| Home size and wall complexity | More corners, window trim, and architectural detail mean more cutting, fitting, and labor time |
| Siding profile and accessories | Lap siding, panel siding, and trim/accent choices carry different material costs |
| Access and site conditions | Two-story sections, tight lot lines, and landscaping can affect labor and equipment needs |
| Full tear-off vs. sections | Replacing all siding at once is more efficient per square foot than staged partial replacement |
We provide a written, itemized estimate after the on-site assessment so you know exactly what's driving the price before any work begins — not a ballpark figure over the phone.
Why Local Experience in Safety Harbor Matters
A crew that regularly works in and around Safety Harbor and the greater Clearwater area understands the practical realities of building here — how close a given property is likely to be to salt exposure, what Pinellas County's building and wind-load requirements call for, and how local weather patterns (afternoon storms, seasonal humidity, hurricane season timing) affect scheduling and installation sequencing. That familiarity shows up in small but meaningful decisions: how flashing details are handled around openings, how clearances are set near grade, and how a crew paces tear-off against an incoming forecast so a home isn't left exposed. It's the difference between a contractor applying a generic install process and one that's actually accounting for the conditions your house will face.
Maintenance After Installation
One advantage of James Hardie fiber cement is that it asks relatively little of homeowners after installation compared to wood-based sidings. That said, a few basics keep it performing well for the long haul:
- Rinse the exterior periodically to remove salt residue and airborne debris, especially on homes closer to the water
- Inspect caulk lines and touch up as needed, particularly after severe weather
- Trim vegetation back from siding to maintain airflow and reduce trapped moisture
- Have the siding and trim visually inspected after major storms
None of this requires the repainting cycle that wood siding demands — the ColorPlus finish is designed to hold up substantially longer than field-applied paint, which is part of why it fits a low-maintenance approach to a coastal Florida home.
Get a Straightforward Estimate
If your Safety Harbor home's siding is showing its age, or you're planning ahead of the next storm season, we're happy to take a look and give you an honest assessment of what it needs. Reach out for a free, no-pressure estimate using the form below — there's no obligation, just a clear picture of your options.