 Clearwater Siding
 Siding Repair Built for Safety Harbor's Bay-Front Conditions
Safety Harbor sits along Old Tampa Bay in Pinellas County, and that waterfront location means homes here take on a specific mix of punishment: humid air moving off the bay, salt in that air working into every seam and fastener, intense year-round Florida sun breaking down exterior finishes, and the wind-driven rain that comes with tropical storms and hurricane season. Siding doesn't fail everywhere on a house at once. It fails where these forces concentrate — low corners, butt joints, areas near sprinklers, and anywhere water has a path to linger against the wall.
A siding repair done right in this environment isn't just about making a damaged section look fine again. It's about understanding why that section failed in the first place, fixing the underlying cause, and using a repair material and method that will hold up to the same conditions for years, not months.
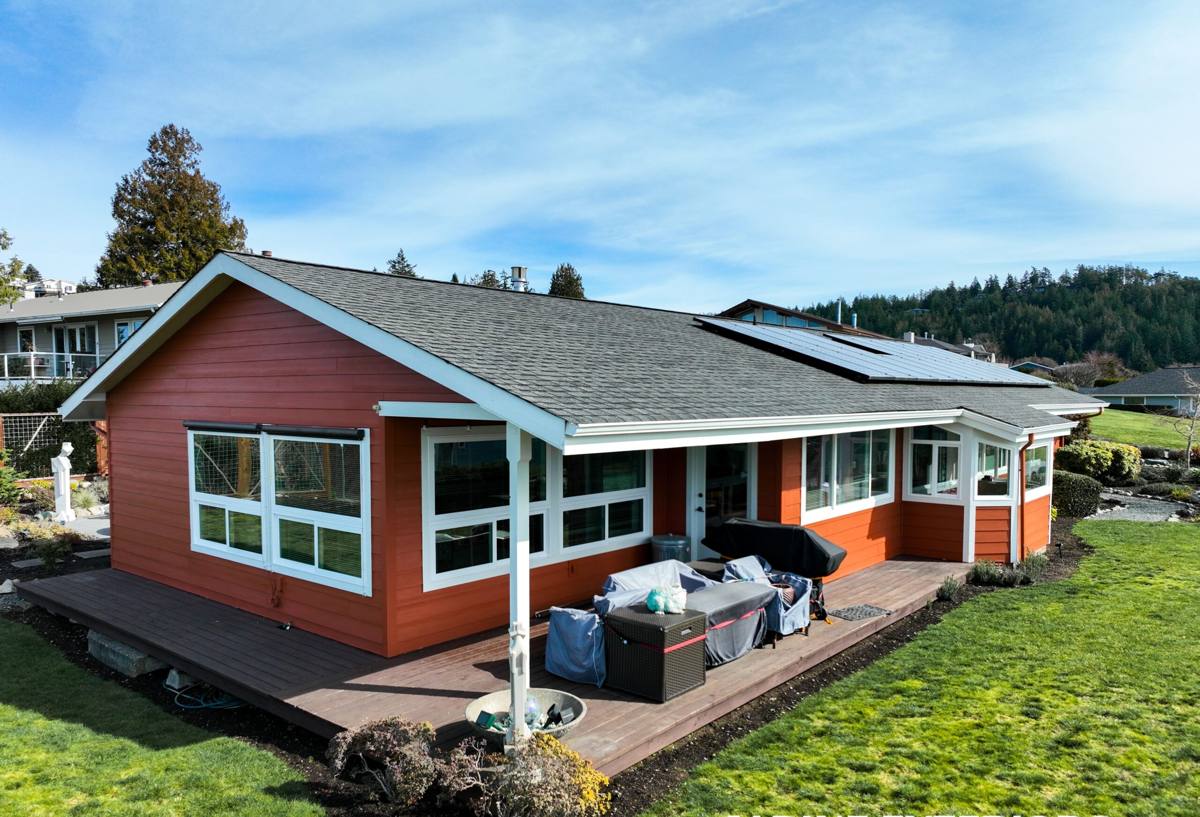
Common Siding Damage We See in the Safety Harbor Area
Most repair calls in this part of Pinellas County fall into a handful of recurring categories:
- Impact damage — cracked or dented panels from storm debris, lawn equipment, or falling limbs.
- Moisture staining and soft spots — usually at butt joints, around window and door trim, or near ground level where sprinklers hit the wall repeatedly.
- Caulking and joint failure — UV exposure dries out and cracks sealant faster in Florida than in milder climates, opening gaps for water intrusion.
- Nail pops and loose panels — fasteners working loose from thermal expansion and contraction cycles, or from siding that wasn't fastened to spec originally.
- Color fade and finish breakdown — especially on south- and west-facing walls that take the most direct sun.
- Corrosion staining — salt-laden air accelerating rust bleed from fasteners or trim hardware, especially closer to the water.
None of these are unusual for a coastal Florida home. What matters is catching them early, because small repair jobs stay small only if they're addressed before moisture gets behind the siding and into the wall assembly.
How We Diagnose a Siding Repair
Every repair call starts with an inspection, not a quote pulled from a photo. We look at the damaged area itself, but we also check the surrounding panels, the trim, and the flashing details around windows and doors, because visible damage is often a symptom of a problem somewhere else — a gap in flashing, a caulking joint that failed months ago, or grading that pushes water toward the foundation and up the wall.
What we check on every visit
We look for soft or spongy material around the damaged section (a sign moisture has already gotten into the substrate), check whether the panel profile and exposure match what's currently on the wall, and confirm whether the house wrap or weather barrier behind the siding is still intact in that area. Skipping this step is how a "quick patch" ends up needing to be redone a year later.
Repair vs. Replace: Making the Right Call
Not every damaged section needs a full siding replacement, and not every repair is worth doing instead of replacing. The right call depends on how much of the wall is affected, how old the existing siding is, and whether moisture has already spread past the visible damage.
| Factor | Favors Repair | Favors Full Replacement |
|---|---|---|
| Extent of damage | Isolated to one or two panels/areas | Scattered across multiple walls |
| Age of existing siding | Recent installation, still under warranty | Original material near end of service life |
| Moisture intrusion | Surface-level, caught early | Found behind multiple panels or in sheathing |
| Product match | Same Hardie profile/color still available | Discontinued profile, poor color match likely |
| Underlying cause | One-time impact (storm, accident) | Systemic issue (bad original install, chronic moisture path) |
We'll tell you honestly which category your situation falls into. If a repair is the right move, we do the repair. If the damage points to a bigger underlying problem, we'll explain what we found and why patching it would just delay a bigger cost.
Why This Matters at the Estimate Stage
An estimate that doesn't distinguish between these scenarios isn't a real estimate — it's a guess. We want you to understand what we're seeing on your wall before any work starts, not after.
What a Correct Hardie Siding Repair Involves
Because we only install James Hardie fiber cement siding, every repair we perform uses genuine Hardie product — matched to the existing panel's profile, exposure, and, where possible, its factory ColorPlus finish. That matters for a few reasons specific to fiber cement:
- Profile and exposure matching. HardiePlank comes in different plank widths and reveal exposures. Mismatching these creates visible lines and uneven weather protection at the seams.
- Proper fastening. Fiber cement has specific fastener spacing, placement, and embedment requirements. Repairs fastened incorrectly are the most common reason a "fixed" section fails again.
- Correct joint treatment. Butt joints get treated with a compatible sealant rated for exterior fiber cement, not general-purpose caulk that dries out and cracks within a season or two under Florida sun.
- Finish blending. ColorPlus is a factory-applied, baked-on finish — it isn't the same as field-applied paint. We work to match it as closely as possible, but on older siding with years of sun exposure, we'll tell you upfront if a perfect blend isn't realistic and what your options are, including repainting the affected elevation for a uniform look.
- Fixing the cause, not just the symptom. If a flashing gap or grading issue caused the failure, we address that as part of the repair — otherwise the same spot fails again.
Why the Repair Material Matters as Much as the Workmanship
We get calls to fix siding that was never Hardie to begin with — vinyl, LP SmartSide, or other engineered wood products installed by a previous owner or a different contractor. We're upfront that our crews work exclusively with Hardie fiber cement, and here's the honest reason that shapes how we think about repairs generally: fiber cement doesn't swell, warp, or absorb moisture into its core the way engineered wood products can, and it won't soften or deform under sustained coastal humidity the way some vinyl systems do in intense heat. That means a Hardie repair, done correctly, behaves the same way years later as it did the day it was installed — no separate "how will this hold up" question hanging over the patch.
If your home currently has a non-Hardie product and needs a repair, we'll always give you a straight answer about what a patch can realistically achieve versus what a full re-side with Hardie would solve permanently. We won't tell you a repair is a lost cause just to sell a bigger job, but we also won't pretend a patch on a failing product is a long-term fix.
Our Siding Repair Process
1. Inspection and Assessment
We walk the affected area and the surrounding wall sections, checking for hidden moisture and underlying cause, not just the visible damage.
2. Honest Scope and Estimate
You get a clear explanation of what needs to happen, why, and what it will cost — including whether repair or replacement is the right call for that section.
3. Matched Material Sourcing
We source genuine James Hardie product matched to your home's existing profile and finish wherever a match is available.
4. Repair and Correction
Damaged material is removed, the underlying issue (flashing, moisture barrier, fastening) is corrected, and new material is installed to Hardie's fastening and joint-treatment specifications.
5. Final Check
We walk the repair with you before we consider the job finished, so you know exactly what was done and why.
Why Hiring a Crew That Already Works Safety Harbor Matters
Pinellas County's building codes account for high-wind exposure, and permitting requirements can vary based on the scope of exterior work involved. A crew that regularly works this part of the county already understands the wind-load fastening requirements for siding in this zone, knows what tends to fail first on bay-adjacent homes, and isn't learning coastal Florida conditions on your project. That familiarity shows up in the details — where extra attention goes during installation, which joints get watched most closely, and how repairs are sequenced ahead of storm season rather than during it.
It also means a shorter distance between "we noticed a problem" and "someone can actually come look at it," which matters when a repair need shows up right before a named storm is in the forecast.
Keeping Your Siding in Good Shape After a Repair
A repair is a good opportunity to get ahead of the next issue rather than waiting for it. A few habits go a long way in this climate:
- Walk the exterior twice a year — once before hurricane season, once after — looking for cracked caulking, loose panels, or new staining.
- Keep sprinklers angled away from siding; repeated direct water contact at low panels is one of the most common causes of repeat repairs.
- Trim back vegetation and tree limbs that hold moisture against the wall or could cause impact damage in high wind.
- Address small caulking cracks or nail pops promptly — they're inexpensive to fix early and expensive to ignore.
- Have joints and trim rechecked after any major storm that brought sustained high winds to the area.
If you're dealing with damaged, cracked, or failing siding on a Safety Harbor home, we're happy to take a look and give you a straightforward assessment — no pressure, no inflated scope, just an honest read on what your siding needs. Reach out for a free estimate using the form below.